[INTRODICTION] [CREATE / MAINTAIN ALBUMS] [SEARCH DATABASE] [PRINT REPORTS] [PERSONAL] [DESIGN REPORTS] [IMPORT ALBUMS] [MISCELLANEOUS]
Miscellaneous
Contents
|
|
Look And Feel (LAF) 
The appearance of Your MusicDB is highly configurable. The Look And Feel (LAF) menu has items for changing the appearance to match your operating system (Windows, Mac, Motif), as well as several specialized skins. If one of the LAF options is not available on your system due to copyright protection, it will be not be accessible.
If the Default LAF is selected, additional color schemes are available in the Themes menu. The images in this documentation were created using the Default LAF and the Sandstone theme. Experiment with the different combinations to locate the appearance you prefer
Visually Impaired LAF 
For the visually impaired, their is a theme available that uses a much larger font. It is available only when the Default LAF is selected. In this mode, the amount of display area is reduced, but it is still very usable
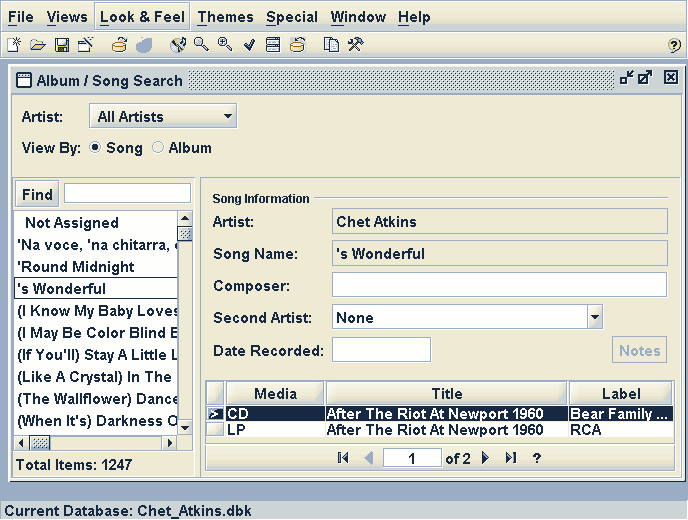
Figure 1 -- Vision impaired theme
Preferences 
The are few preferences that can be set that affect the operation of Your MusicDB. Setting the Start-up Database to your preferred database will select that database when you open a database from a fresh start of the program. The toolbar can be relocated to the right or left of the screen as well as being set invisible. The format of dates is determined by the selection made in the Date Format drop-down box.
The last thing to consider is the default font to be used on printed reports. The default font is a Java specific font and will function on all operating systems. You may want to set the default to your preferred system font. The Font Name drop-down box will display all available fonts installed on your PC. The font for each item can be modified in the Report Designer, but you will find it more convenient to make this preference change.
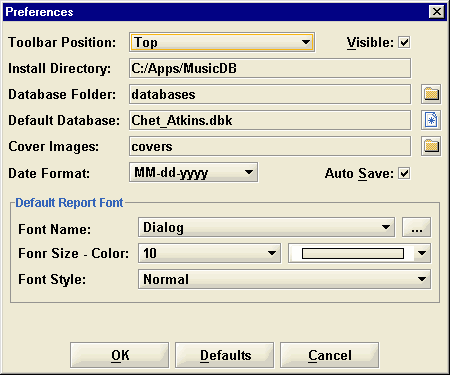
Figure 2 -- Preferences window
Table Maintenance Window 
The Table Maintenance window is available for entering or modifying items in the supporting tables
in the database. Although it will be seldom used, it does come in handy for correcting mis-spelled
song names, album titles, etc. This window contains the only tables in
Your MusicDB where you can type directly into the table
columns. You can of course add new entries by clicking the Add row
![]() button or delete rows
by clicking the Delete row
button or delete rows
by clicking the Delete row ![]() button in the table navigator.
button in the table navigator.
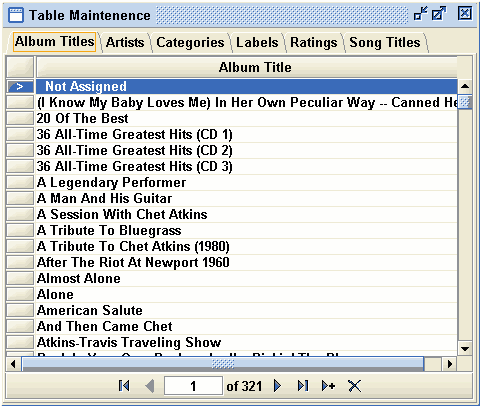
Figure 3 -- Table Maintenance window
Merging Databases 
Temporarily Disabled
Extracting A Single Artist Database 
The Extract Database window provides the ability to create an individual artist database from a multiple artist database. This operation is only available after the multiple artist database has been opened. Select the desired Artist and click the Start button to begin the operation. This operation may take a few minutes, especially if the source database is very large
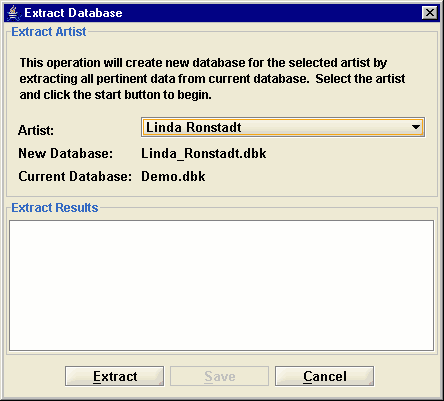
Figure 6 -- Extract Database window
After the extraction has been completed, the text area at the bottom of the screen will display the results of the operation. The Print and Save buttons are made active so the results can be sent to the printer or saved in a text file for historical purposes.
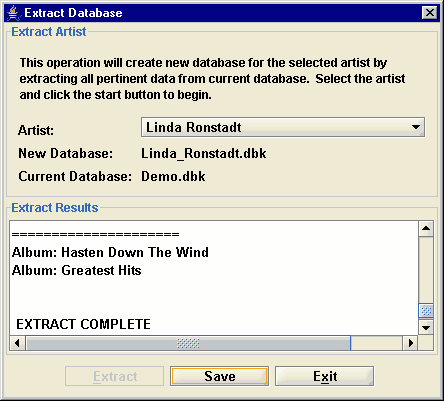
Figure 7 -- Extract Database results
Purging A Database 
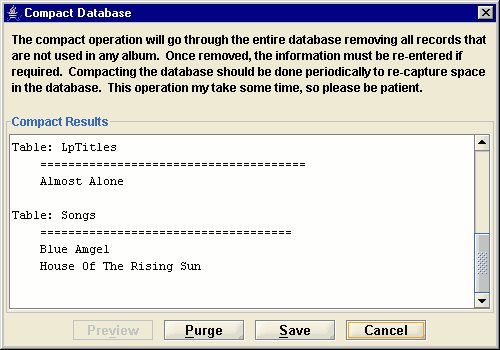
As updates are made to a database, it is quite likely that many records will be added that are not used. This needlessly increases the size of the database and could eventually start to degrade the program performance. The Purge Database window provides an automated method for locating these records and removing them. Like the Merge and Extract, this operation is available only after a database has been opened. The biggest difference is that the database updates are not made permanent until after you review the results. Click the Preview button to begin.
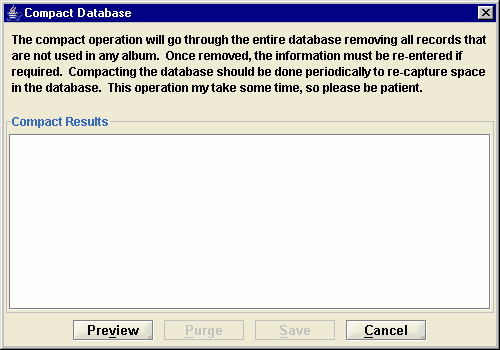
Figure 8 -- Purge Database window
The results of the preview is displayed in the text area at the bottom of the window. After reviewing the results, clicking the Remove will make the changes permanent. Click the Cancel to prevent the changes from being made. The Print and Save buttons are made active so the results can be sent to the printer or saved in a text file for historical purposes.
